
Every toolbox starts the same way. You buy it, you feel organized for about a week, and then everything migrates into a single drawer where sockets live under pliers under a roll of tape.
Loose plastic bins do not fix this. They slide around every time you open a drawer, they do not stack, and there is nowhere to put a label.
Gridfinity fixes it, and it costs almost nothing if you have a 3D printer.
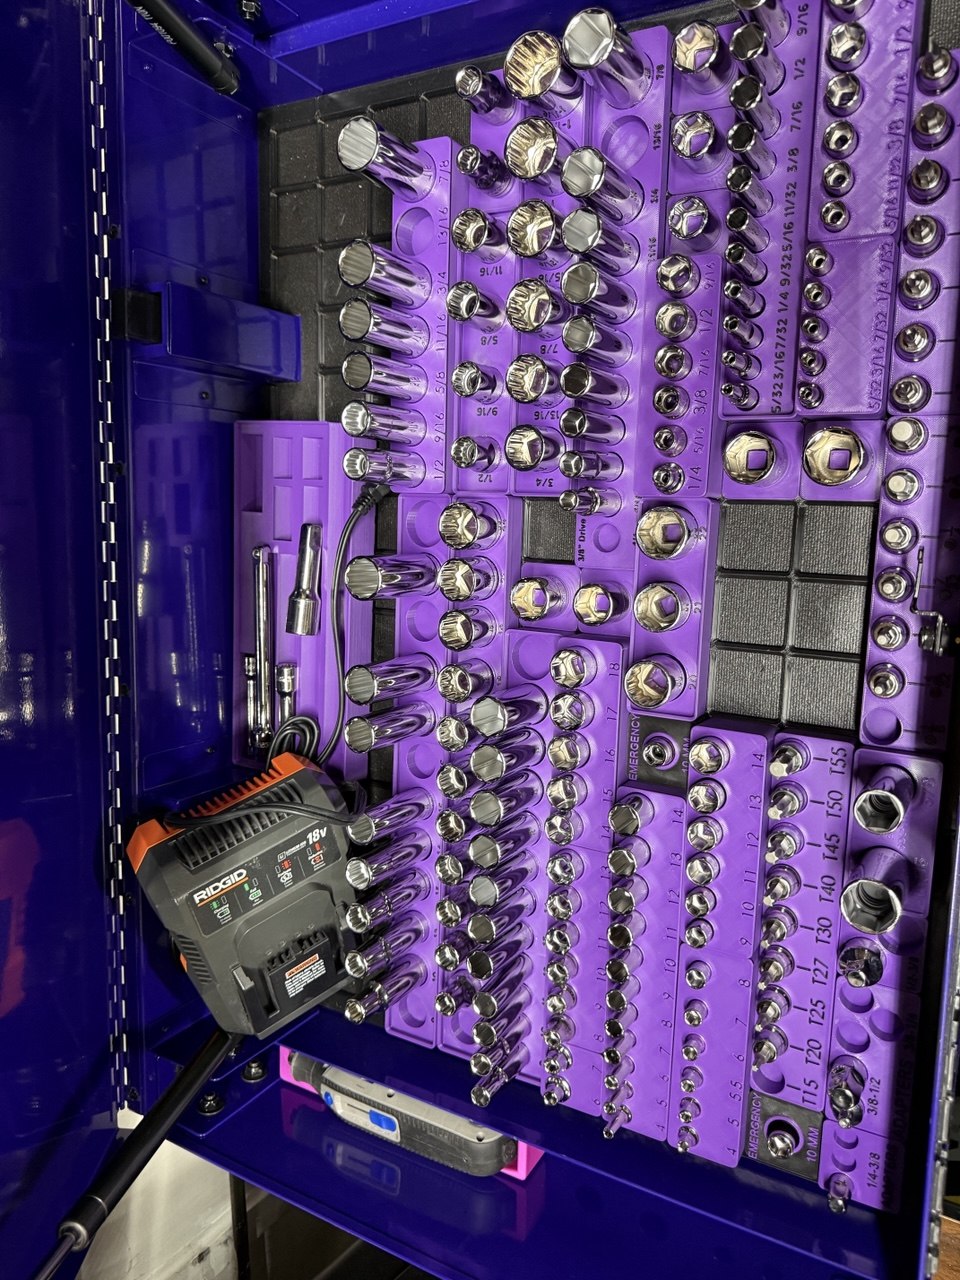
What Gridfinity actually is
A free, open-source modular storage system that you print yourself. Zack Freedman released it in 2022, building on earlier work by Alexandre Chappel, and the community has since put out more than ten thousand free designs on Printables alone.
The whole system rests on two numbers.
Everything is a multiple of 42mm. One grid unit is 42mm by 42mm. A 2×3 bin is 84mm by 126mm. That number is fixed and it never changes, which is the entire point: a bin you print today fits a baseplate somebody designed three years ago.
Heights go in 7mm steps, usually written as “U”. A 3U bin gives you roughly 21mm of usable depth inside. Common heights run from 2U up to about 10U.
There are two kinds of part:
Baseplates are flat grid tiles that sit in your drawer. You print enough to cover the space.
Bins are the containers. They have a profiled base that mates with the baseplate pattern, so they stay put when you yank a drawer open but lift straight out when you want them.
That is the whole system.
Start by measuring, not by printing
Measure the inside of your drawer in millimeters. Divide each dimension by 42. Round down.
A drawer that is 380mm by 260mm inside gives you 9 by 6 grid units.
That is your budget. Everything else follows from it.
If you end up with an awkward leftover strip, half-bin mode exists: 0.5 unit increments, so 21mm. A 1.5 by 2 bin is 63mm by 84mm. Useful for that last inch nothing fits into.
Print the baseplates first. Fill them later.
This is the order that works, and it is tempting to do it backward because bins are more fun to print.
Do the grid first. Print baseplates, tile them into the drawer, and live with an empty grid for a bit. They print in sections and clip together, so you do not need a printer big enough to do a whole drawer in one go.
Then work out what actually goes in that drawer, and print bins to suit. Not the other way around.
The reason is simple: once the grid is down, the drawer stops being a problem you are solving and becomes a space you are filling. Those are different jobs and the second one is much easier.
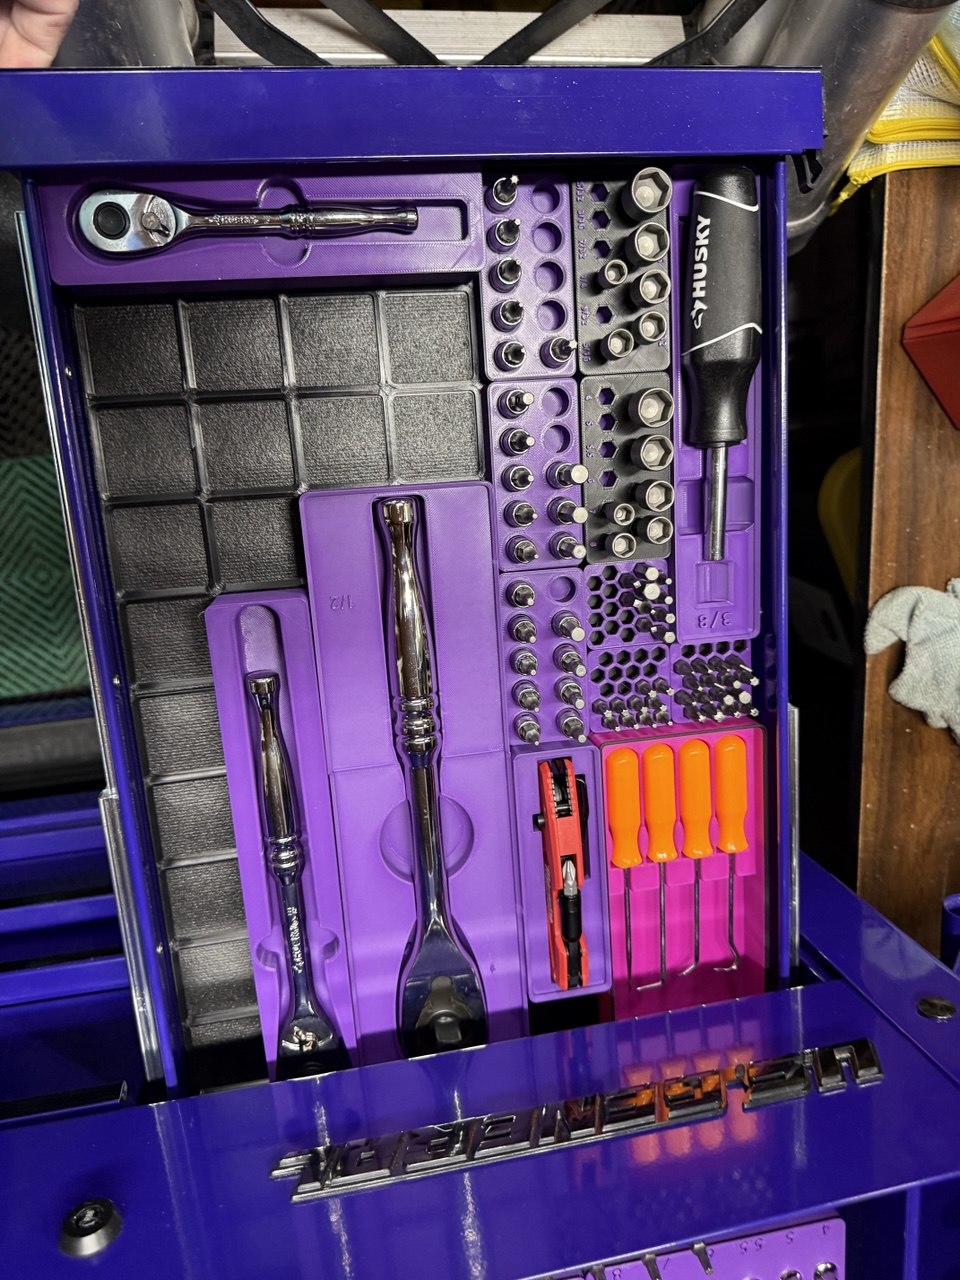
Where to get the bins
You almost certainly do not need to design anything.
Search Printables, MakerWorld or Thingiverse for the thing you own. Somebody has probably already made a Gridfinity holder for your exact pick set, your exact screwdriver, your exact multimeter. The community is enormous and weirdly thorough.
When nothing exists, generate it. There are free online Gridfinity generators that let you set size and height, add compartments, scoop ramps for getting things out, label tabs, and floor cutouts shaped to specific items like batteries or hex bits. Preview it, export STL or 3MF, print it. No CAD required.
There are also OpenSCAD and FreeCAD ports if you want to go deeper.
Printing notes
PLA is the standard. Most community designs are optimized for it, and a toolbox drawer is not a hot environment.
0.2mm layers, 15 to 20% infill is the common recommendation and it is plenty. These are boxes, not structural parts.
Magnets are optional, and I do not use them.
Most designs include recesses for small magnets at the grid intersections, and plenty of people fit them. Mine have none, and the bins stay where I put them. The profiled base that mates with the baseplate is doing the work, and in a drawer that is enough.
If you do want them, sizes are commonly cited as 6mm by 2mm, though you will see 6mm by 3mm quoted too, so check the specific model before you buy a bag of a hundred.
But start without. They add cost, they add print time, and you can retrofit them later if you find your bins actually moving. Most people will not.
Get your bed level. Baseplates are large flat prints and a warped one will not sit right, which throws off every bin on top of it.
The organizing principles that actually matter
The system is the easy part. These are the things that decide whether the drawer stays organized six months later.
Leave a drawer empty on purpose
This is the best organizing decision I have made and it feels wrong every time.
Every guide tells you to fill your space efficiently. Do not fill all of it. Keep one drawer genuinely empty, or nearly so, and reserve it for whatever is coming.
Something always is. A new tool, a set migrating in from somewhere else, a job that needs its own kit gathered in one place. If every drawer is full, that new thing gets crammed into whichever drawer has a gap, and that is exactly how the system starts falling apart.
An empty drawer is not wasted space. It is the pressure valve that keeps everything else where it belongs.
Sort by height before you sort by category
This one is counterintuitive and it will save you a rebuild.
You will want a logical layout: electrical here, cutting tools there, sockets over here. Then you will discover that two things in your electrical group are too tall for the electrical drawer, and you have to put them somewhere else anyway.
Measure your tallest items first and let them decide which drawer they live in. Then group by category within what physically fits. A perfect category system that does not fit is not a system, it is a plan you will abandon.
A second, portable kit beats a perfect single box
A big rolling cabinet is great right up to the moment you need to help somebody in their driveway.
Build a small portable set alongside the big one. Duplicate the basics. It costs you a second set of cheap wrenches and it means you never have to choose between lugging the whole cabinet or arriving without tools.
This also gives your older, slightly rougher tools a job. The set with a bit of surface rust on it is perfect for the box that lives in a vehicle.
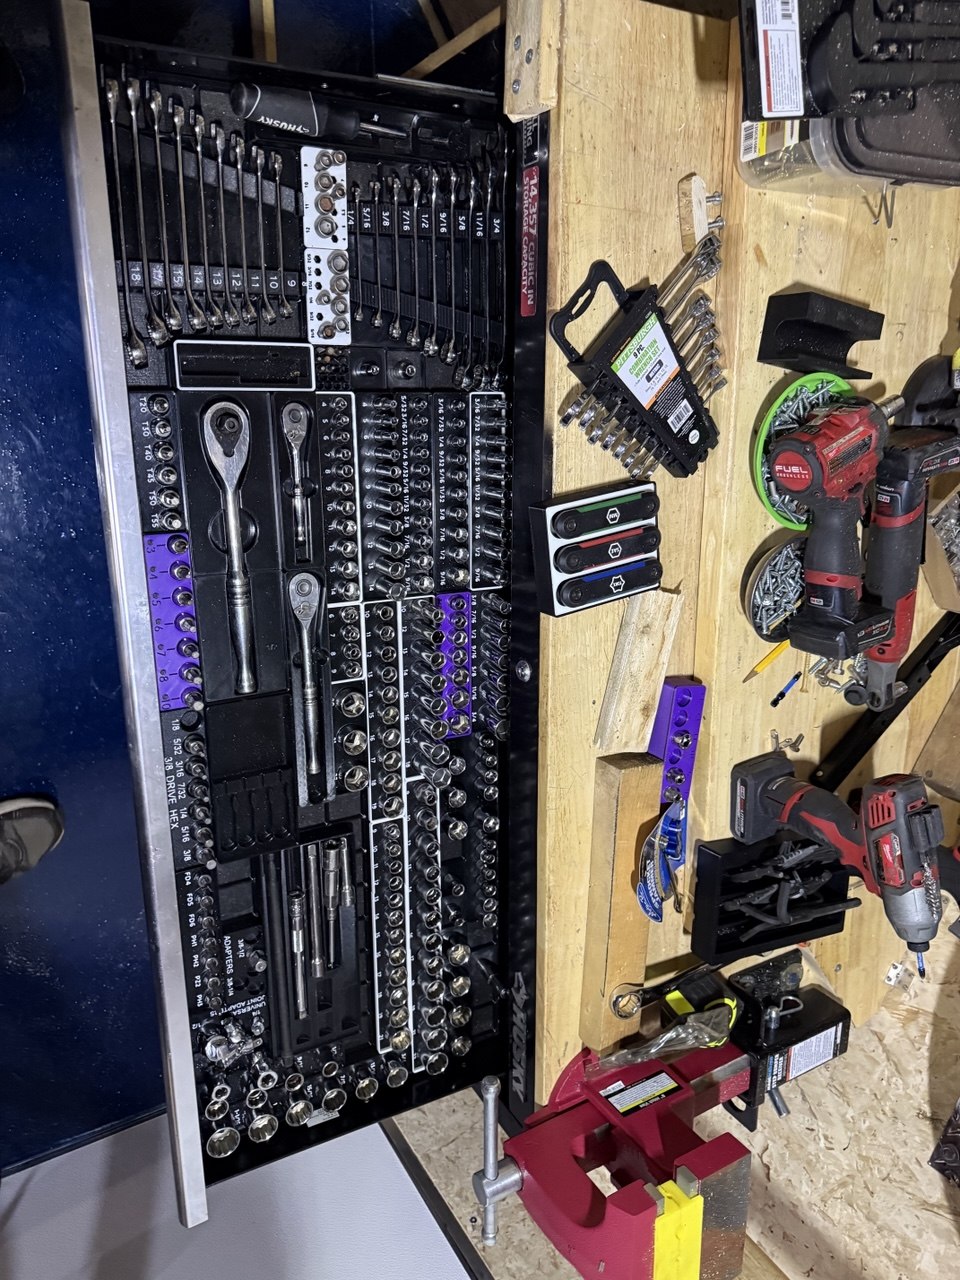
Not every bin will be perfect, and that is fine
Some of them come out awkward. The shape is not quite right, the tool sits at a strange angle, it looks like it should have been a different size.
If it holds the thing and the drawer closes, it is doing its job. Reprint it later if it bothers you. The whole point of a printed system is that a replacement costs an hour and forty cents of filament.
Perfect is not the standard here. Not-a-pile is the standard.
Put a light in the box
A magnetic work light that sticks to the inside of the lid, or the underside of a shelf, changes how usable a toolbox is in a dim garage far more than the price suggests.
What it actually costs
If you already have a printer: filament and time. That is genuinely it. The designs are free, the standard is open, and nobody is selling you a proprietary bin.
If you do not have a printer, this is a poor reason to buy one on its own, but it is a very good reason once you have one for something else.