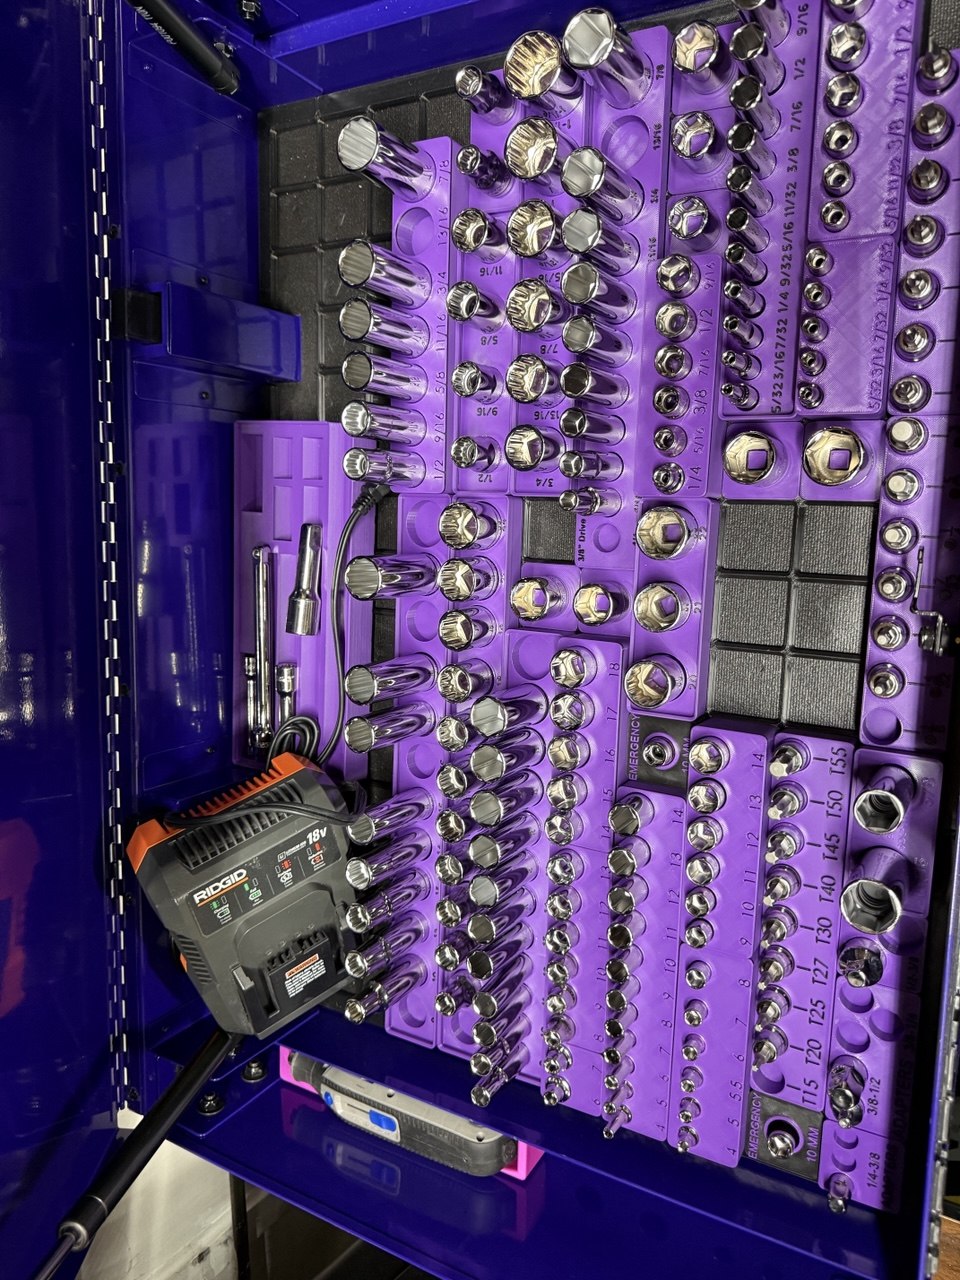
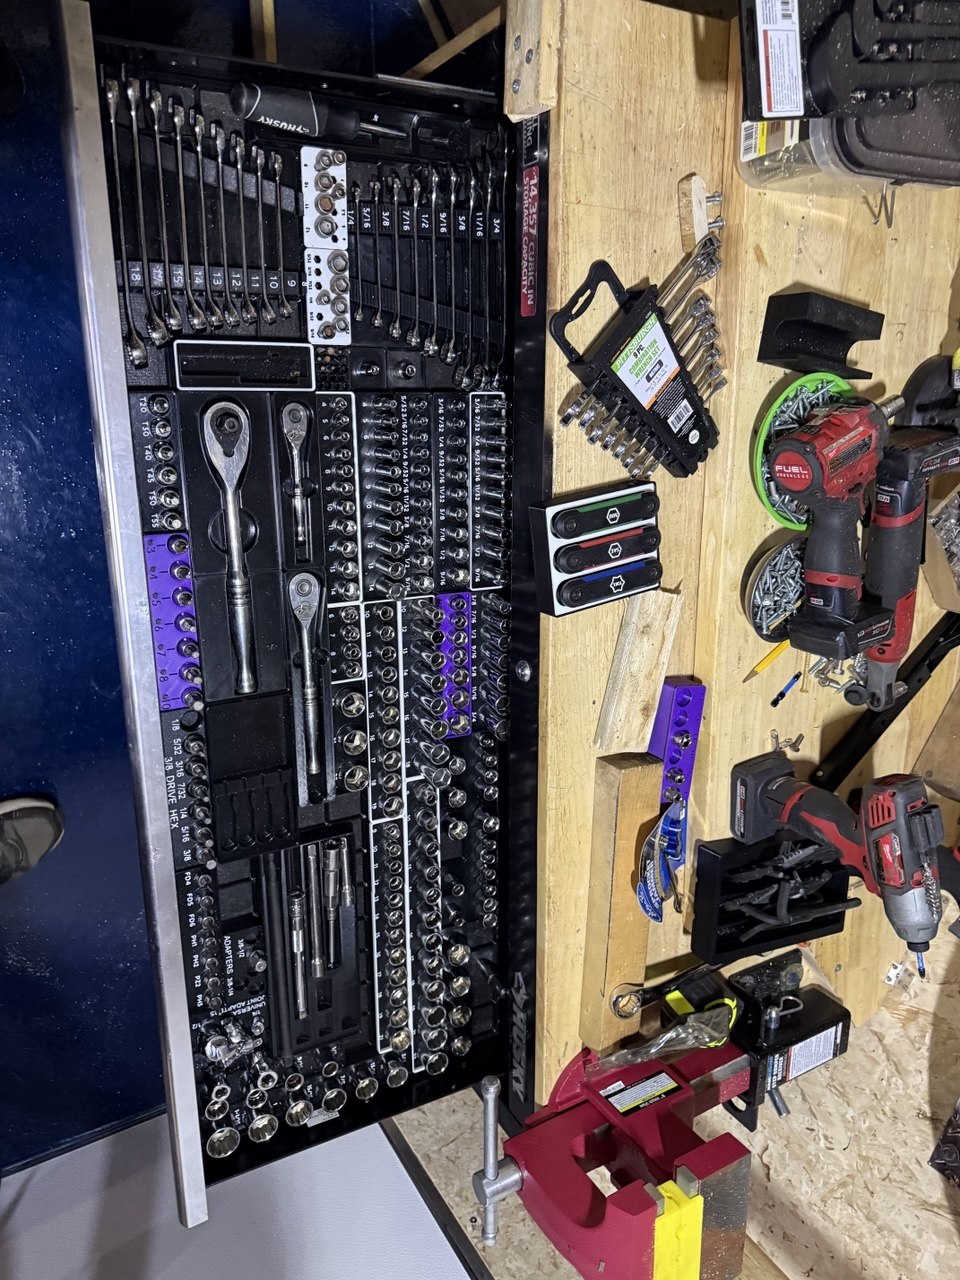
We opened our trailer at a rally once and found the toolbox flipped over, the drawers ripped out, and the contents across the floor.
It was bolted down.
That is the whole lesson of setting up a hauler, and everything below comes from it: a trailer is not a garage that moves. It is a box that gets shaken, tilted and slammed for hours at a time, and anything that can move will.
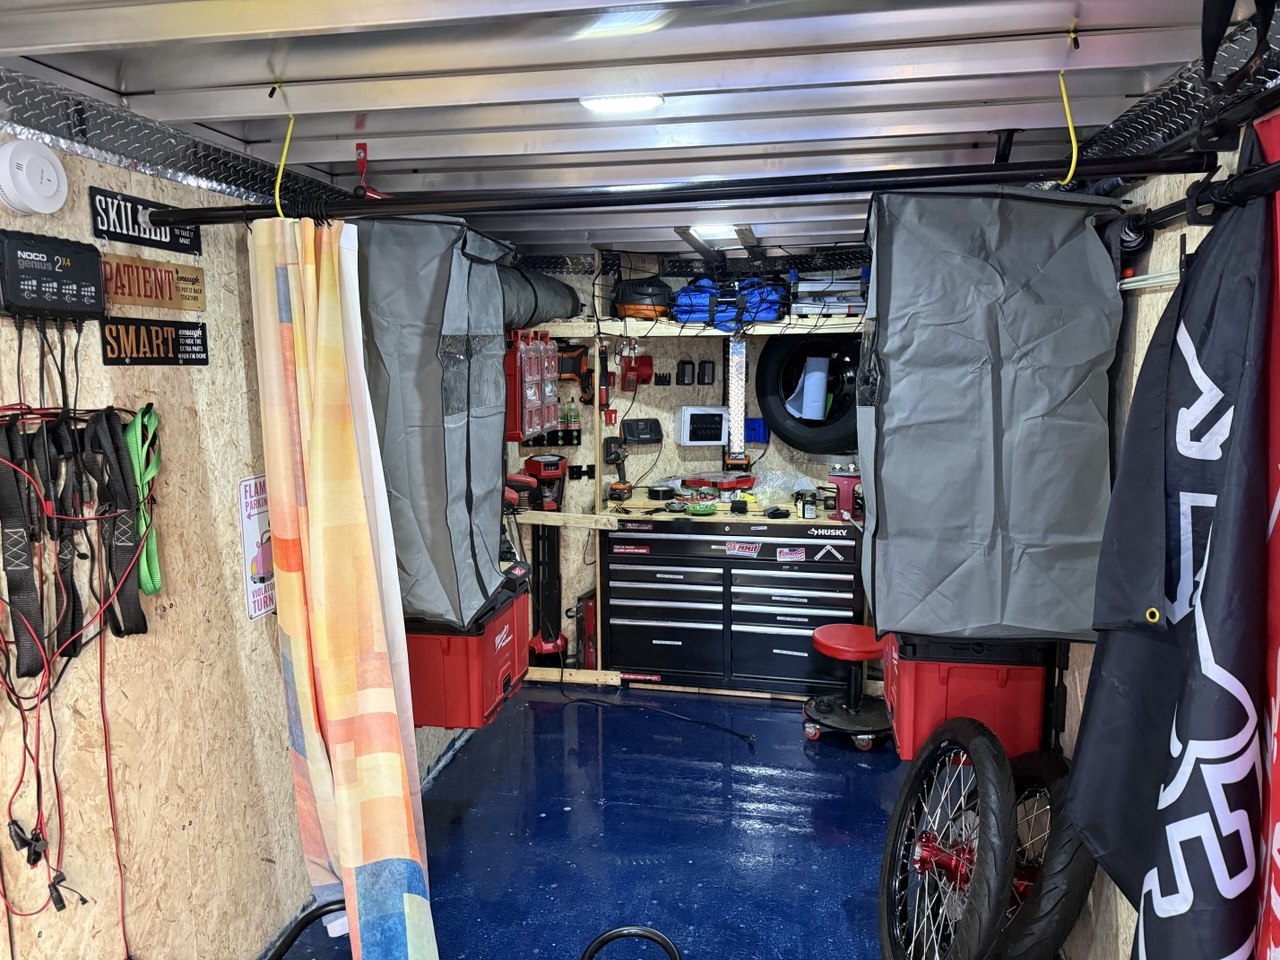
Most of the advice out there is for camper conversions
Search for trailer build-outs and you get people turning cargo trailers into tiny homes. Insulation, bunks, kitchenettes.
A motorcycle hauler is a different problem. You are not living in it. You are moving heavy machines and the tools to fix them, and then you are working out of it at the other end.
So the priorities are different: securing loads, getting at things without unpacking everything, and drying gear that is wet.
Start with the floor and do not rush it
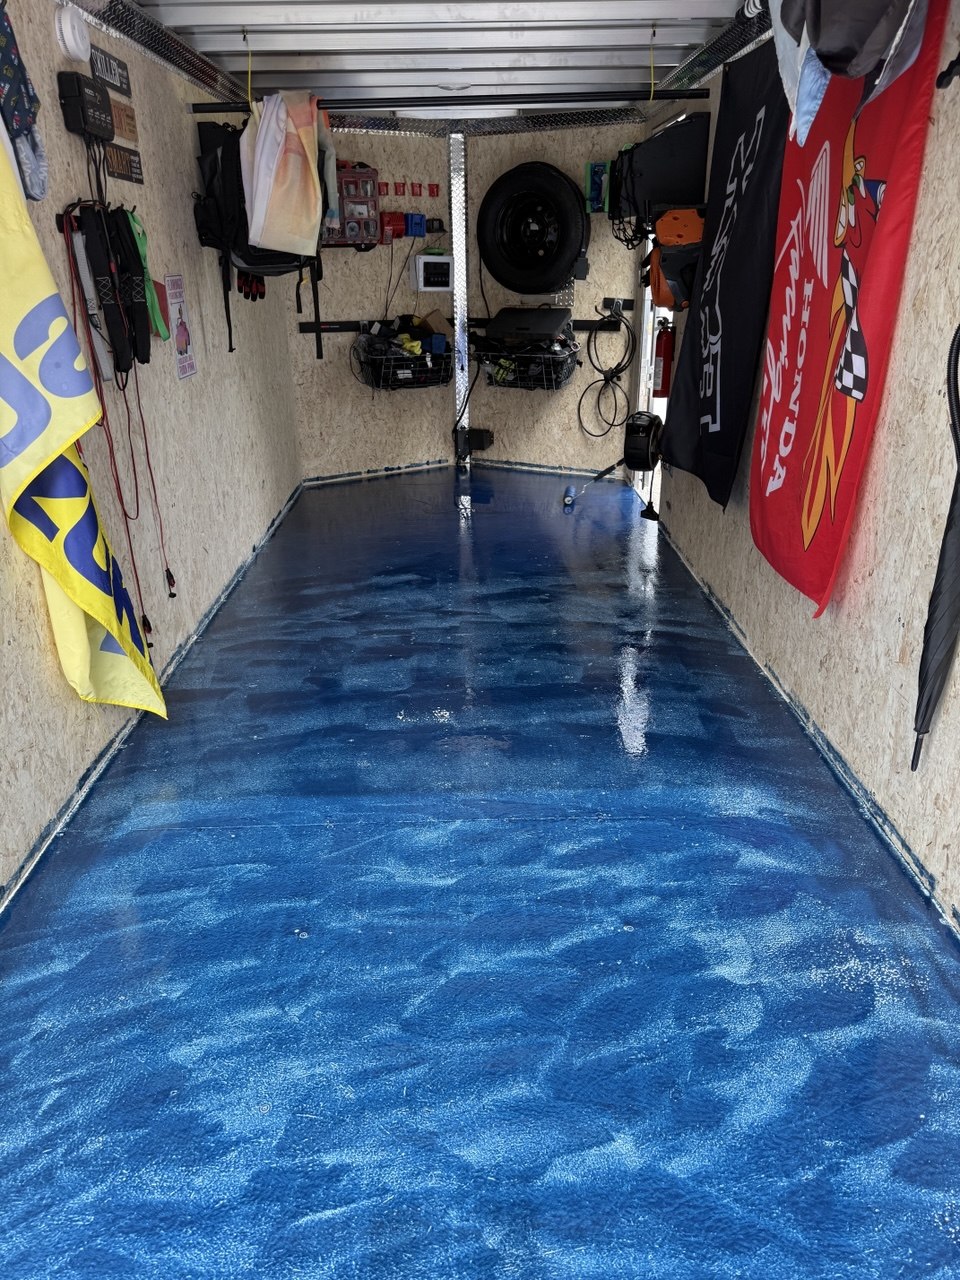
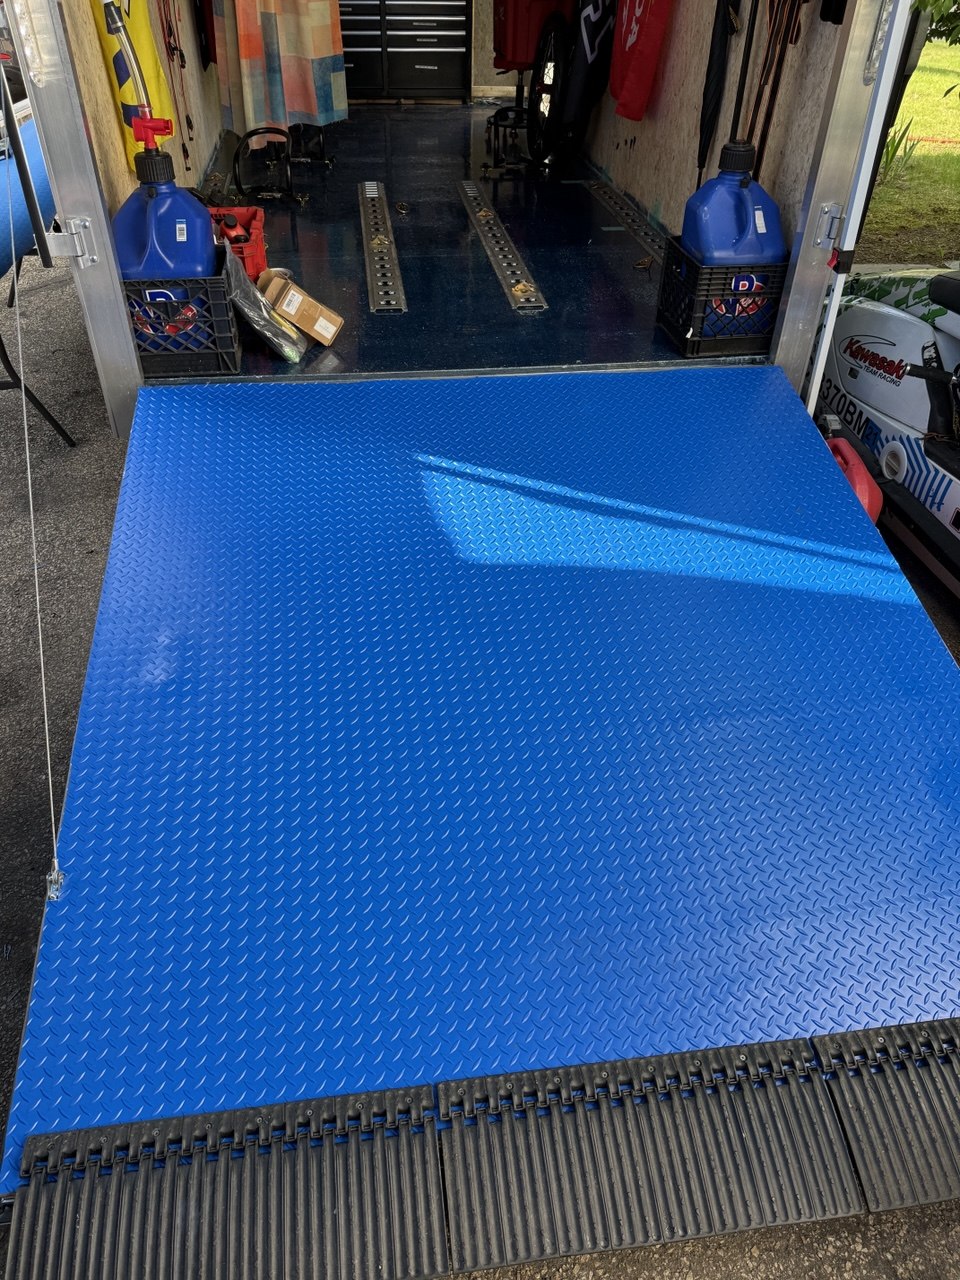
Whatever coating you use, let it cure fully. Ours took five days to dry thoroughly, and we waited because starting early would have meant doing it twice.
This is dull advice that costs you nothing but patience, and it is the layer everything else attaches to.
Everything gets secured, and bolting is not always enough
Our toolbox was bolted and it still came apart. What we do now:
Mount to the walls, not into baskets. We started with wire baskets and swapped to a wall-mount tool system. Baskets let things move inside them, and low baskets let things climb out. A mounting system that clamps the box to the wall keeps the box and its contents together.
Anchor anything heavy to the floor. We keep a box of fluids for the bikes and the RV, and in our last trailer it slid around freely. This time it gets bolted to the floor. Nothing inside can move if the box itself cannot.
E-track is the standard for a reason. Rails on the walls and floor, and fittings that lock into them. It is the difference between hoping a strap holds and knowing where it is anchored.
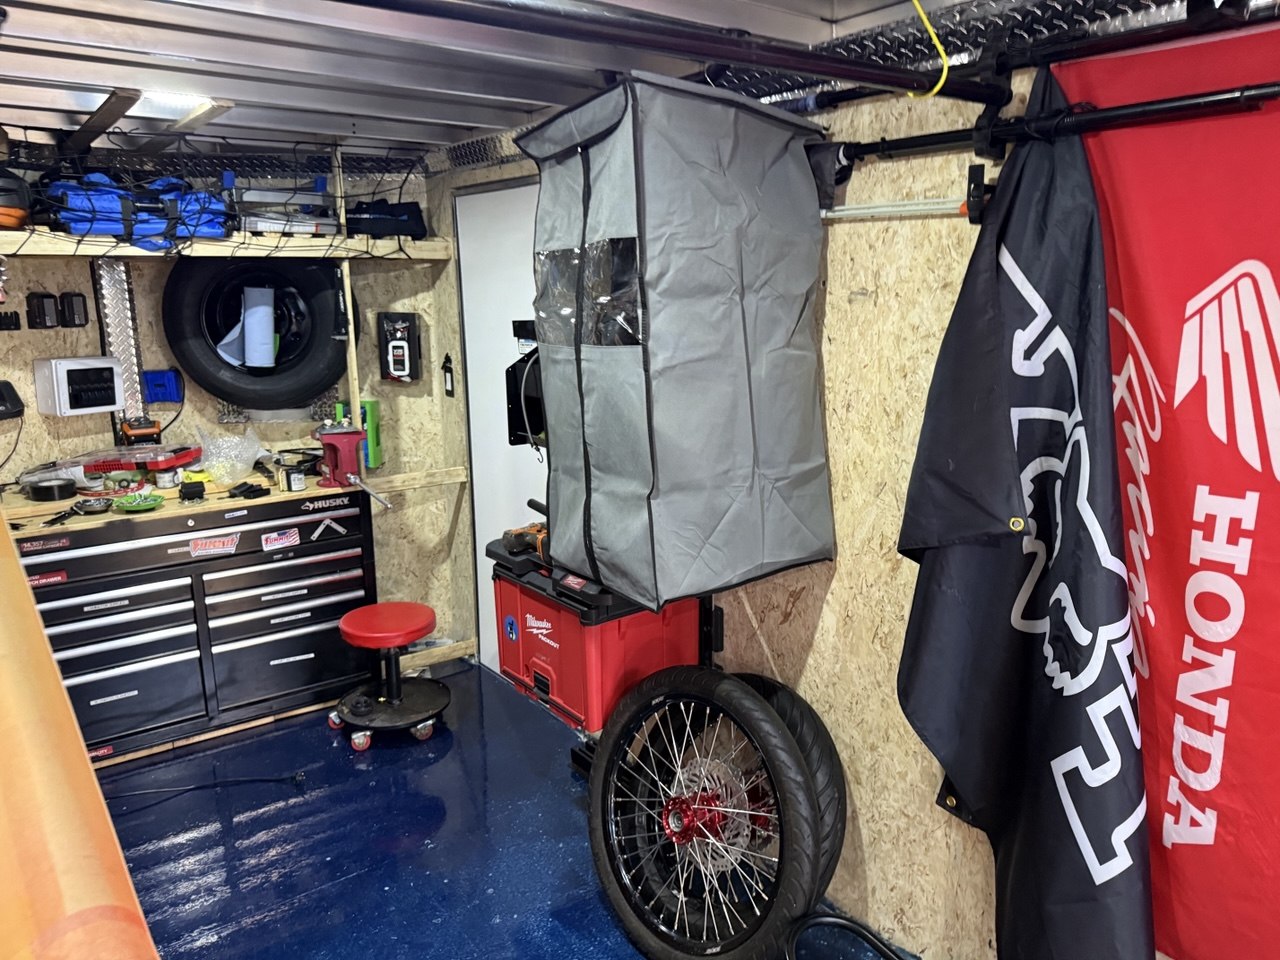
Wheel chocks, one per bike. If you are on a tandem axle, there are dual chocks made to sit between the wheels.
The distinction nobody mentions: parked mode versus travel mode
Some things belong on the wall when you are stopped and in a box when you are moving.
We hang small bins for goggles so sweaty gear has somewhere to air out. Those come down before we drive. Same with some of the E-track bins.
If you catch yourself thinking “that will probably be fine at highway speed”, it will not. Decide up front which fittings are permanent and which are parked-only, and get in the habit of a two-minute walk-through before you close the door.
Access beats efficiency
The tightest packing job is not the best one.
We wanted the toolbox at the front. That put the battery box out of reach behind it, so we raised the battery on a wood platform to a height where you can lean over the toolbox and still get to it.
That costs some space. It buys the ability to maintain the battery, add solar, and wire in bike charging without dismantling the front of the trailer.
Ask of every heavy item: when this needs attention, what do I have to move first? If the answer is “three other things”, put it somewhere else.
One caution while you are at it: do not extend factory wiring to make a layout work. We wanted the battery higher than the supplied cables allowed and left it lower rather than splice them. Warranty, and the wrong place to improvise.
Use the vertical space
Trailer walls are tall and mostly empty.
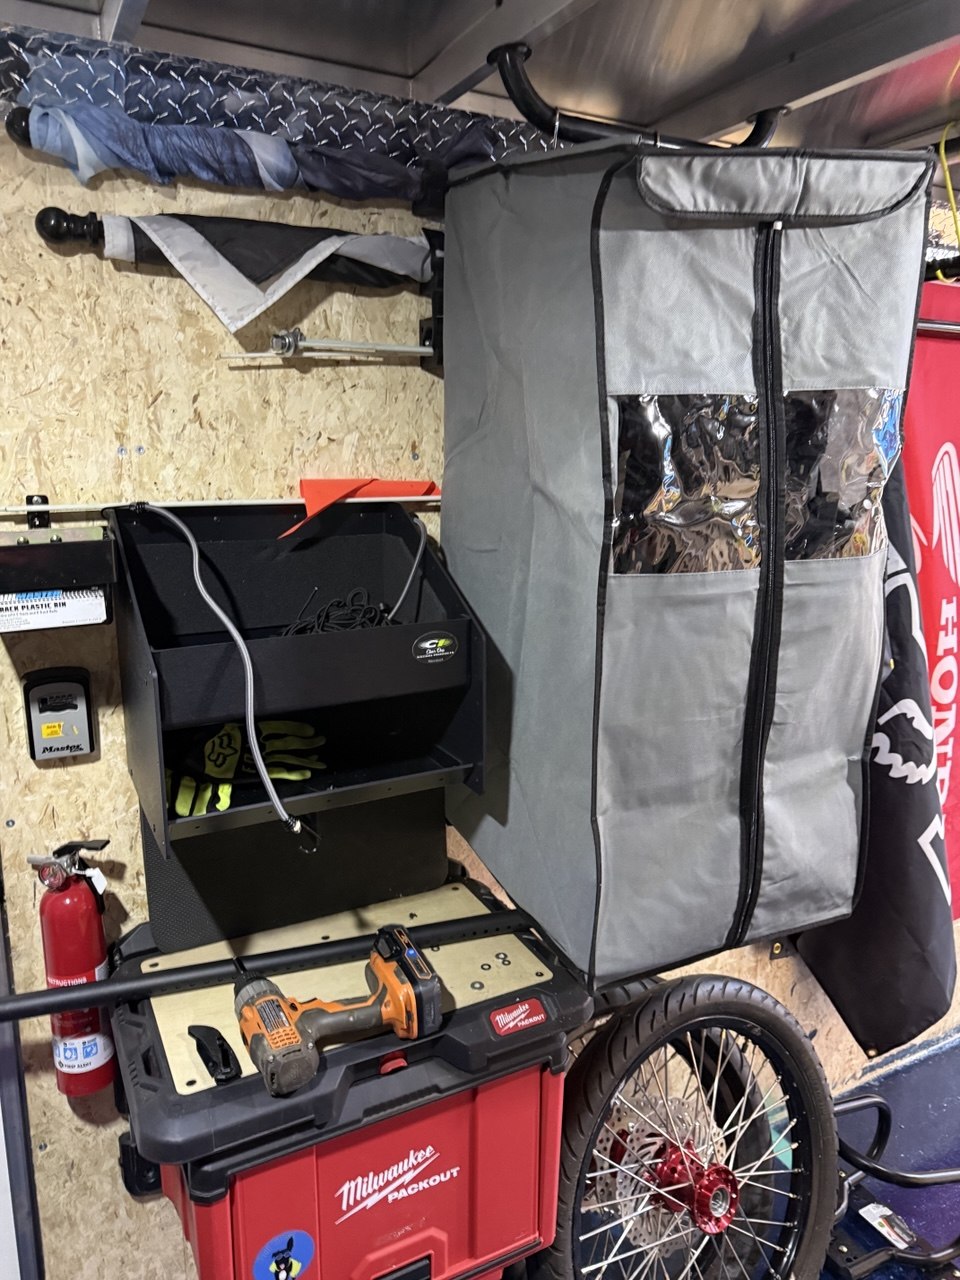
Cargo netting overhead holds light bulky things: a folding wagon, a fan, camp lights, a step stool. Ours is two nets zip-tied together, because a single net left a gap in the middle that things worked through.
Hanging closets for riding gear beat a duffel on the floor. Wet gear that hangs dries; wet gear in a bag does not.
Boot holders, mounted upside down. Boots hang inverted so water drains out while you drive. That one detail is worth more than it sounds on a wet weekend.
Bike layout
Two bikes is easy. Three is a middle bike between the outer two, and it works better than it looks. We have carried three that way to a rally with no trouble.
Four is possible with smaller bikes. Vintage machines are lighter and shorter, but the handlebars are the problem, not the weight. Wide bars are what stops bikes nesting together, and turning the bars sideways to slide a bike past is often all it takes.
Plan for one more bike than you own. Somebody will need a ride to a rally eventually, and a layout with no flexibility means saying no.
Leave yourself room
Keep a couple of drawers and a bit of wall genuinely empty.
The same principle applies here as in a toolbox: the build is never finished, and something always needs a home. If everything is full, the next thing gets shoved wherever there is a gap, and that is where a system starts coming apart.
Things worth stealing
- Test fit before you build. Put the thing where you think it goes and look at it for a day.
- Reuse from your last setup. Our changing curtain came from the previous trailer. It hangs at the back and gives you somewhere private while the ramp is still open.
- Label your storage. If bins are not labeled, only the person who packed them can find anything.
- A handlebar from an old tool chest makes a good hanging rail. Look at what you already have before buying brackets.
That is a hauler that survives the drive and works when you get there.