Seasonal tire swaps are one of those jobs that gets outsourced by default, and it should not be. It needs almost no tools, it takes an afternoon, and doing it yourself means you are the one inspecting your own tires twice a year.
That last part matters more than the money.
Here is the whole process, the way I actually do it.
Inspect the tires before they go anywhere near the car
Do this first, on the ground, before you think about lifting anything.
Look the tire over. Holes, damage, rocks stuck in the tread. I clean mine before they go away for the season, so they come back out ready, but check anyway.
Check the rim. Anything sharp, anything that has contacted the rubber. Missing paint and small chips are cosmetic and will not cause a problem, but you want to know what you are looking at.
Check the pressure. A stored tire will read a couple of pounds low, and that is normal. Mine read 30 or 31 against the 36 I run.
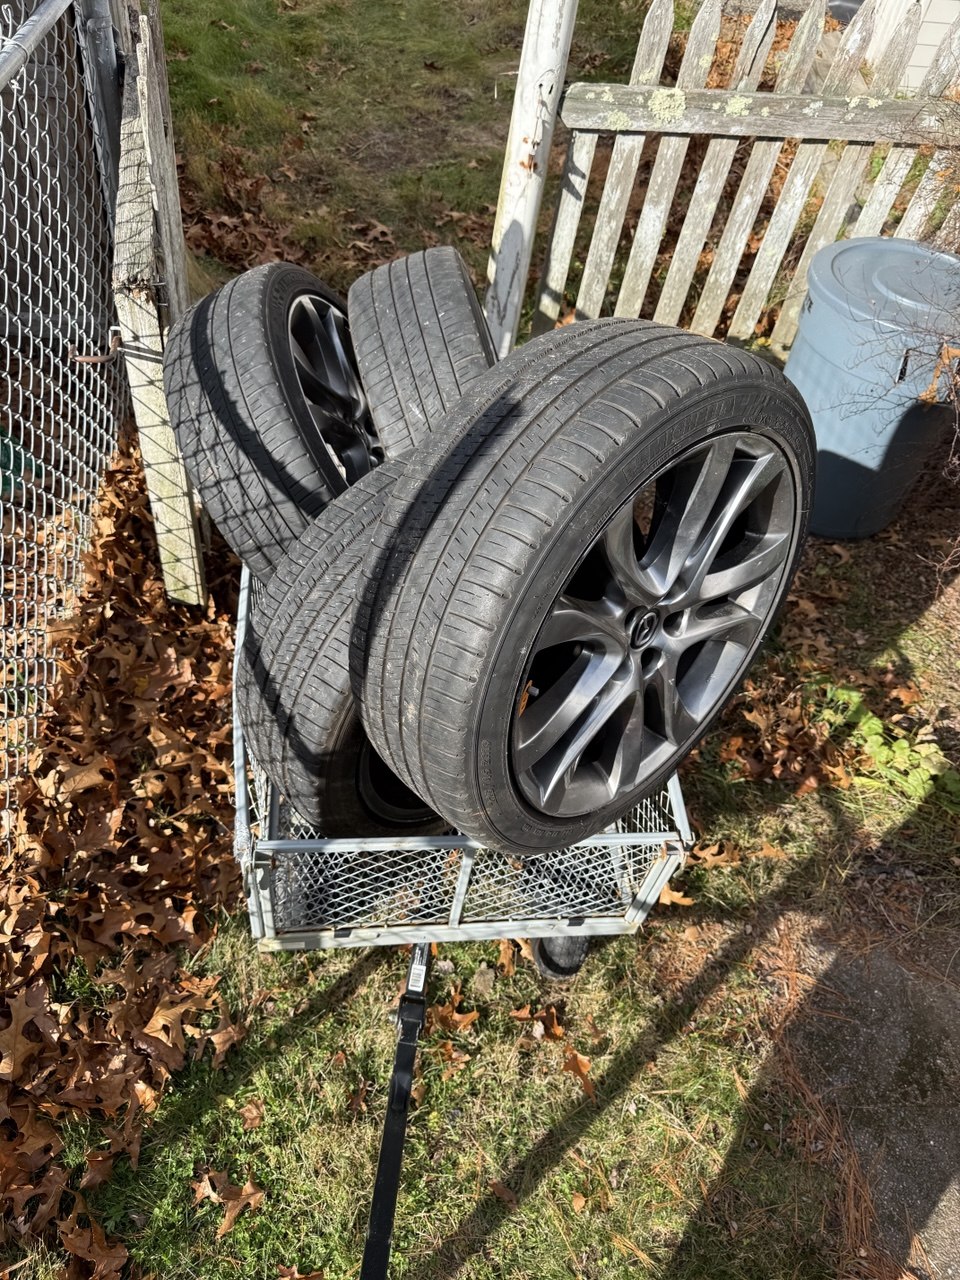
Then do all four.
If one is different from the others, pay attention
If one tire is noticeably lower than the rest, make a note and check it again after you have driven on it. That is what a slow leak looks like, and it is much easier to catch now than on a highway.
If one is badly down, you can find the leak yourself before you get anyone involved:
- Fill it to the correct pressure
- Spray soapy water all over it, both sides, get it completely soaked
- Look for bubbles
Bubbles mean a leak. Take it in and they will patch it, reseat it, whatever it needs.
The exception is the sidewall. A sidewall cannot be patched reliably. Even if somebody does patch it, it can go again easily. Sidewall damage means a new tire.
Prepare the car
Loosen the lug nuts before you lift anything. Trying to break them free with the wheel off the ground just spins it.
I loosen all of them at once, on all four corners, so I am not relying on remembering to do it each time.
Chock the wheel opposite the one you are lifting. I lift from four corners and do one wheel at a time, so if I am doing the back left, the front wheel gets chocked. And pull the handbrake.
A block of wood works. A cement brick works. You can also buy an actual wheel chock from any auto parts shop.
Get a torque wrench. Mine doubles as a normal ratchet, so I can spin the nuts off with it and then switch it over to torque mode when it matters. That saves swapping tools halfway through.
Taking the wheel off
Start with the lower bolts first.
This is the tip that makes the job easier and almost nobody mentions it. As you loosen the upper bolts, the wheel starts to sag and tip downward, and then you are fighting to get the wrench squarely on the rest. Take the bottom ones off while it is still sitting straight.
One thing that is not optional: do not go underneath the car.
Not any part of you. Especially on a jack. Jack stands are a different conversation as long as they are properly placed and secure, but a jack alone is not something to trust with your body.
Anti-seize goes on the hub face, not the threads
I use Permatex anti-seize on the hub face so the wheel does not seize onto the rotor and become a fight next time.
You need very little. Overdo it and it is just a mess. My dad found some genuinely good Q-tips for applying it, which is a small thing that makes it tidier.
One important distinction: that is the hub face, not the studs.
Torque specifications assume dry, clean threads. Anti-seize or oil on the threads reduces friction, which means a wrench that clicks at 100 is actually applying considerably more clamping force than that. Enough to stretch studs and warp rotors.
So: a smear on the flat face where the wheel sits, yes. On the threads, no, unless your manufacturer specifically calls for it.
Putting the wheel on
Note if your winter wheels use different lug nuts. Mine do. Keep them with their own set of wheels so they do not get mixed up.
This matters more than it sounds. Lug nuts come in different seat shapes: conical or tapered, spherical or ball seat, flat, and mag. The wrong seat type will not center the wheel properly, even if it threads on happily.
You can use your feet to help grip and lift the wheel into place while you line up the studs. Then get your feet out from under it.
Hand tighten first. Do not start them with a drill. You can cross-thread or strip them, and those threads are not something you want to be replacing.
Get them all started by hand, then tighten in a star pattern, skipping across rather than going round. Bring them up hand snug and stop there.
Then lower it, and only then torque it
The wheel goes down on the ground before you torque. Torquing with the wheel in the air just spins it and you will not get a real reading.
Your manual gives the figure. Mine calls for 96 foot-pounds, but do not use my number.
Torque varies by vehicle weight, stud size and wheel material, and the spread is wide. As a rough sense of scale:
| Stud size | Typical range |
|---|---|
| M12 x 1.25 (compact cars, many Japanese imports) | 76 to 90 ft-lbs |
| M12 x 1.5 (standard sedans, the most common size) | 76 to 100 ft-lbs |
| M14 x 1.5 (SUVs, crossovers) | 85 to 110 ft-lbs |
| M14 x 2.0 (trucks, heavy duty) | 100 to 140 ft-lbs |
Most cars land somewhere around 80 to 100. Trucks go higher.
And the same car can want two different numbers depending on the wheels. Some Toyota Tundras call for 97 ft-lbs on aluminum wheels and 154 on steel. That is not a small difference to guess at.
Your owner’s manual is the answer. A chart is a sanity check, not a substitute.
Do it in two passes: roughly half the final figure all the way round in the star pattern, then a second pass to full spec. That seats the wheel evenly rather than pulling it crooked.
Never use an impact gun as the final step. An impact can deliver several hundred foot-pounds, which is multiples of what any car wants. Fine for removal, fine for initial snugging on a low setting, but the last turn belongs to a torque wrench.
Should you re-torque after 50 to 100 miles?
Every tire shop tells you to. I used to, and then I stopped, and I want to be honest about why rather than just repeat the standard advice.
Where the advice comes from. After a wheel goes on, the joint can settle. And critically, the initial torque reading might not have been true in the first place: paint, debris or corrosion on the seating surfaces can give a false click, and that difference shows up after the first drive.
Where it genuinely matters most:
- Aluminum and alloy wheels. Softer than steel, so nuts can loosen more easily.
- Aftermarket wheels, which often do not sit as snugly on the hub as factory ones.
- Brand new wheels, first time on.
- Anything heavy. Trucks, trailers, towing. This is not a theoretical risk there.
Where it matters least: factory wheels, on a normal passenger car, torqued by hand with a torque wrench on clean dry threads.
Here is the part nobody says out loud. Almost every wheel-off story traces back to the initial fit, not to settling. An impact gun run to whatever it happened to reach. Dirt on the seat. The wrong lug nut for the wheel. The re-torque advice largely exists because most wheels are fitted fast, with an impact, by someone with a queue.
If you have done it yourself, by hand, in a star pattern, in two passes, on clean threads, with a wrench you trust, you have already avoided the thing re-torquing is protecting against.
So: I do not re-torque my car anymore, and I am comfortable with that. But it costs five minutes, and if you are on alloy wheels, aftermarket wheels, or towing anything, I would do it.
If you do re-torque, use the same figure. Not more. And if a nut has gone noticeably loose, do not just tighten it and move on. Something is wrong with the nut, the stud, the wheel or the hub, and it is worth finding out which.
Finishing up
Check the pressure again once everything is on, and fill to the figure on the sticker in your door frame. If it is not there, look it up. It is not the number on the tire sidewall, which is the tire’s maximum rather than your car’s recommendation.
Check your spare. Genuinely, do this. A flat spare is worthless, and finding that out on the roadside with no compressor is a special kind of bad day.
Reset your TPMS if your car has it, whether it is sensors in the wheels or a rotation-based system.
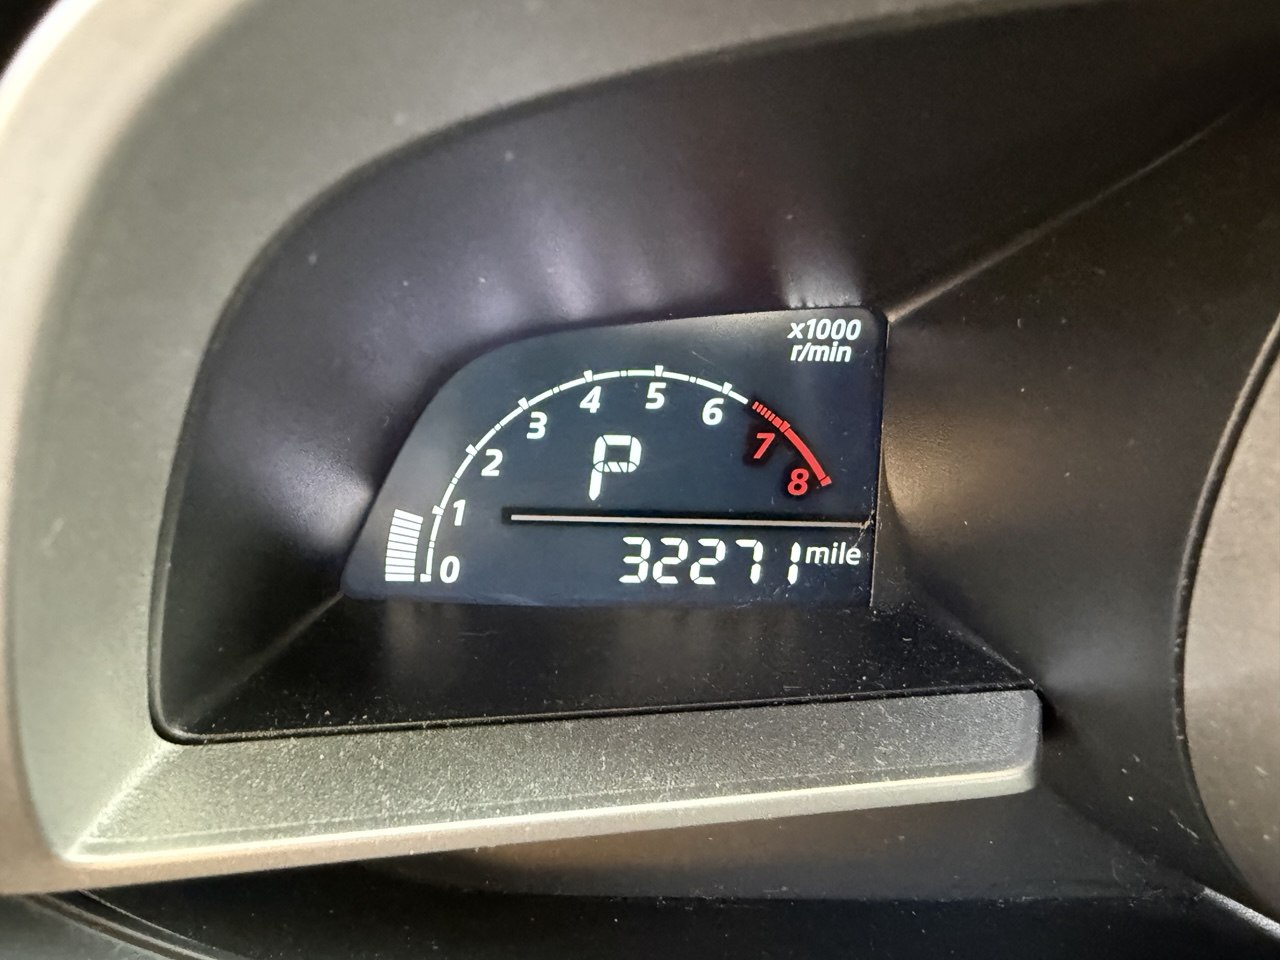
Write down the mileage. If you track when you swap, you know how many miles are on each set, how much you use them a year, and roughly when you will be buying new ones. That turns a surprise expense into a planned one.
That is one car done. The second one is the same job.