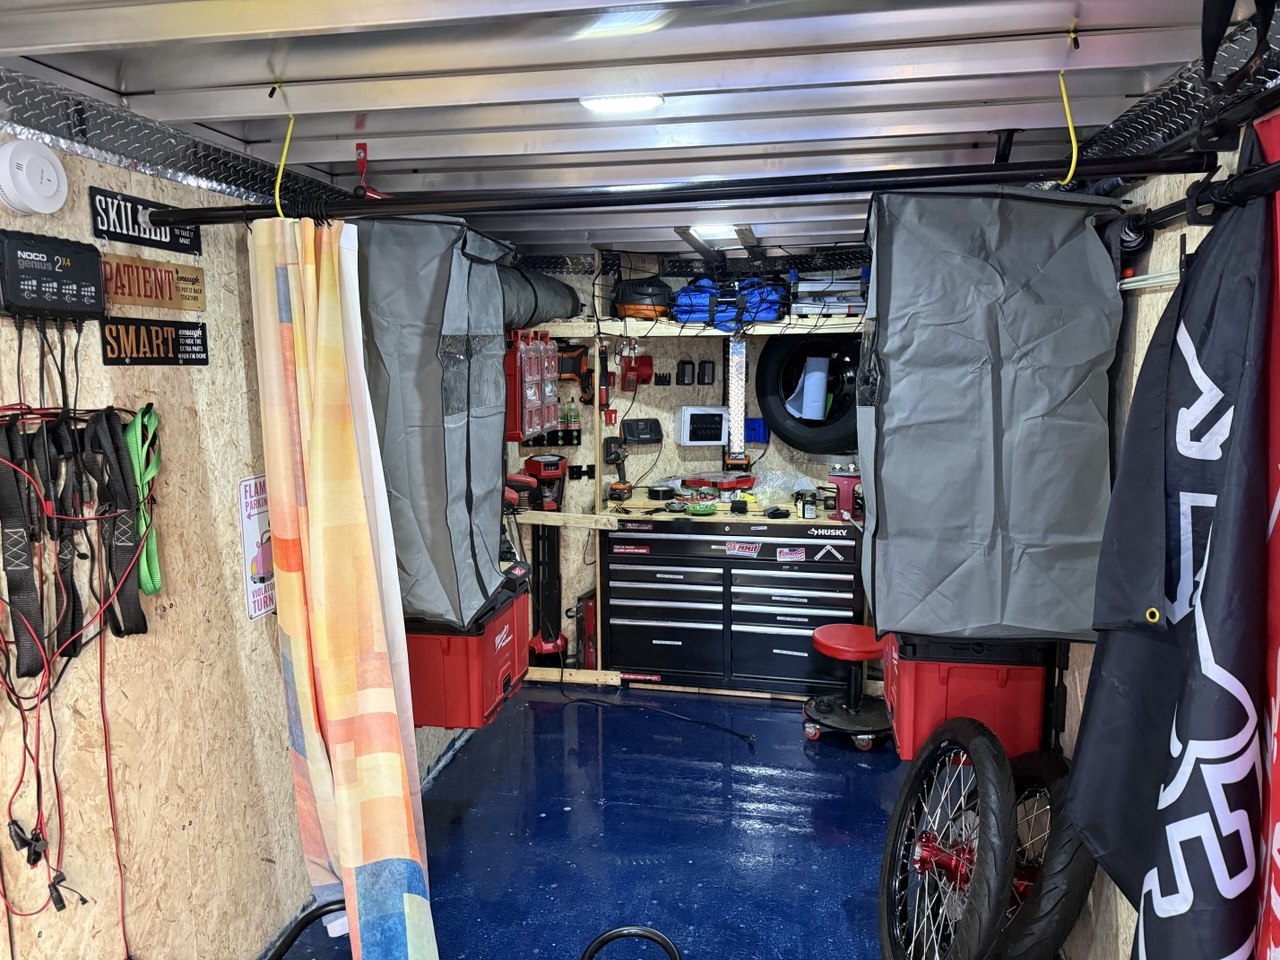
I change the oil on my 2015 Mazda 6 myself. If you have been paying someone else to do this, it is one of the easiest first jobs to learn on your own car, and this page walks you through every step.
A quick note on the video: I was racing the daylight that day, so the video below is the shorter version. The process is exactly the same as on my Mazda 3, so if you want to watch every step up close, the full Mazda 3 oil change video is here. Everything you need for the Mazda 6 is written out below.
The numbers: only one engine
The third generation Mazda 6 (2014 to 2018) only came with one engine, the 2.5L SKYACTIV-G. No figuring out which one you have. These numbers are your numbers.
- Oil: 0W-20, per the owner’s manual
- Capacity: 4.8 US quarts (4.5 L) with a filter change
- Filter: Mazda
1WPE-14-302(supersedesPE01-14-302), the same filter as the Mazda 3 - Drain plug: 8mm hex, on the passenger side. Torque 23 to 30 ft-lbs.
- Crush washer: Mazda
9956-41-400, a new one every time
Buy 5 quarts. Fill to 4.8, then check the dipstick and top up in small amounts. The number gets you close. The stick tells you the truth.
What you need
- 5 quarts of 0W-20 and the new filter
- A 65/67mm, 14-flute filter cap wrench. The factory filter is hard to grip without one.
- An 8mm hex bit socket for the drain plug. I used an Allen key, but a bit socket that sits deep with no slop gives you more leverage and is less likely to round out the plug.
- A new crush washer, and a flathead screwdriver for the plastic clips on the bottom cover
- A drain pan, ramps, and wheel chocks
- A funnel, gloves, and rags
- When you are done, take the used oil to an auto parts store. Most of them take it.
Step by step
1. Warm it up and get it on the ramps
Run the car for a few minutes first. Warm oil drains faster and carries more of the gunk out with it. Line the ramps up so each tire is centered, drive up, set the parking brake, and chock behind the back wheels. If that car rolls back, you do not want to be under it.
2. Open the hood
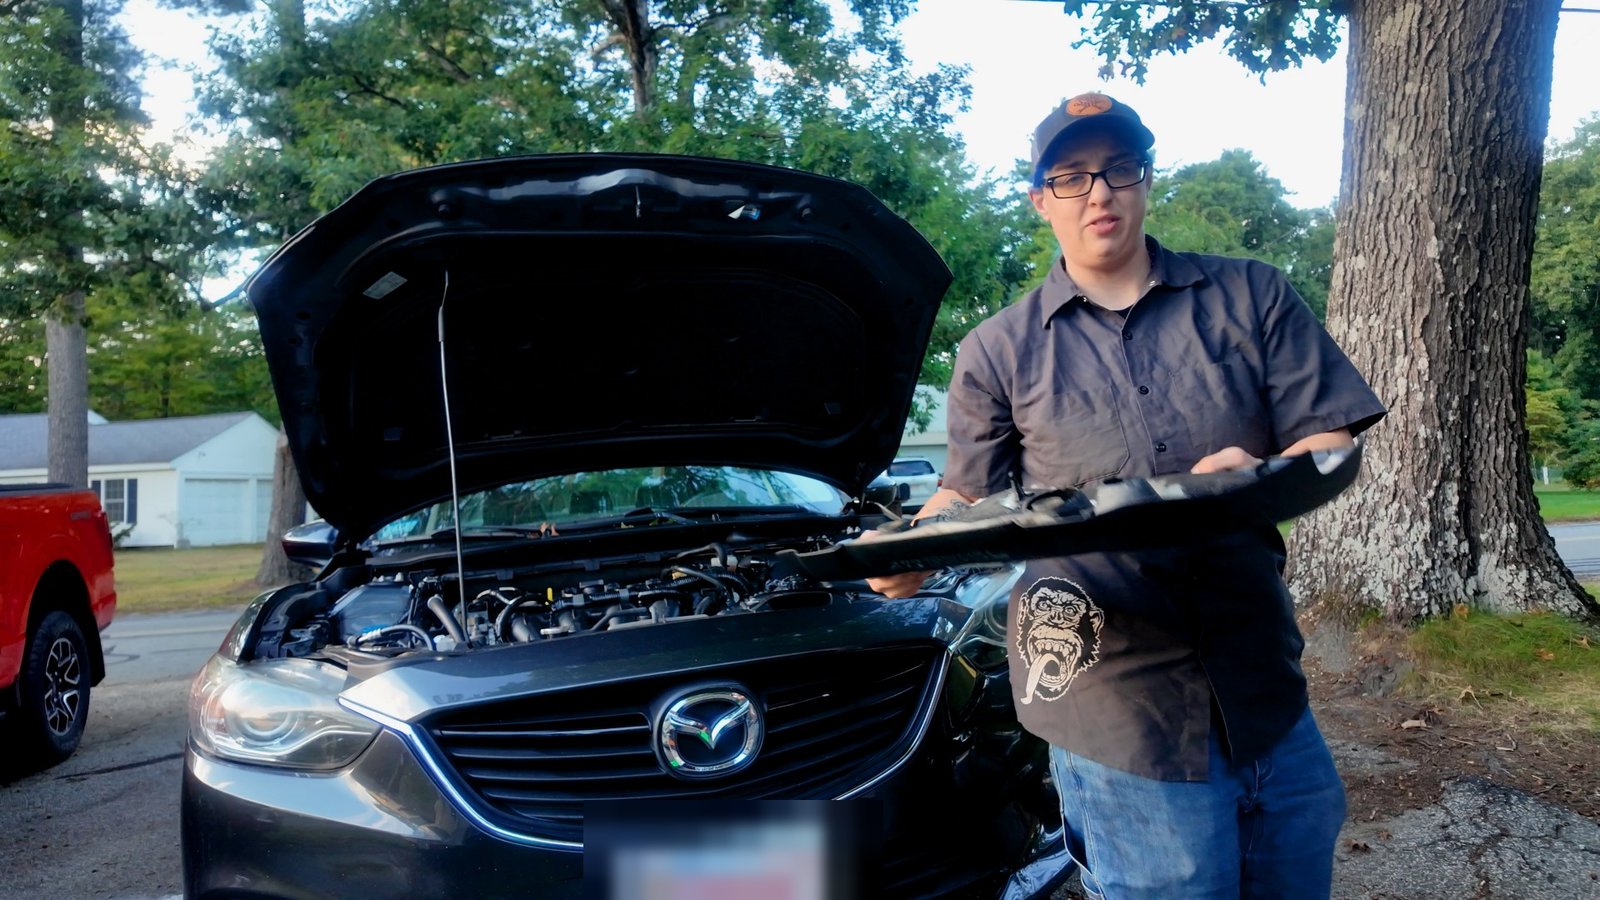
Take the engine cover off, then pull the oil fill cap. Letting air in the top makes the oil drain out the bottom faster. Find the dipstick while you are there, because you will need it at the end.
3. Check the new filter before anything drains
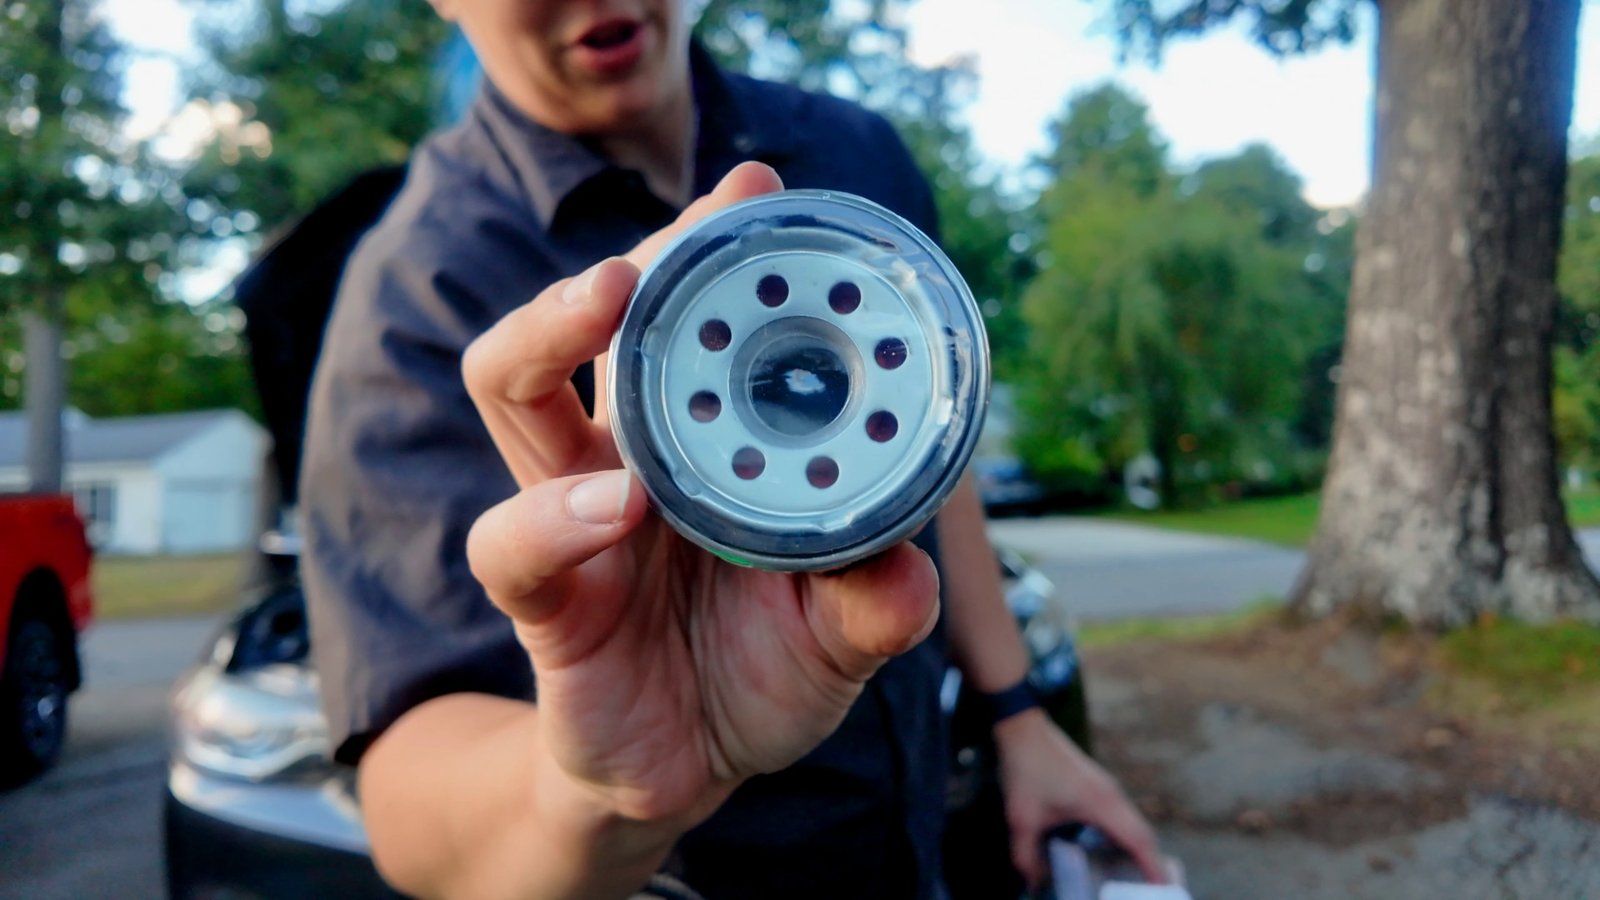
Look at the new filter and make sure the rubber gasket is actually on it. Filters sometimes show up without one, and a filter with no gasket will leak. Better to find out now than with the old oil already out.
4. Take off the bottom cover and look before you drain
There is a plastic cover under the car over the drain plug and filter area, held on by a couple of screws and plastic clips. Pop the clips with a flathead, gently, since they get brittle with age.
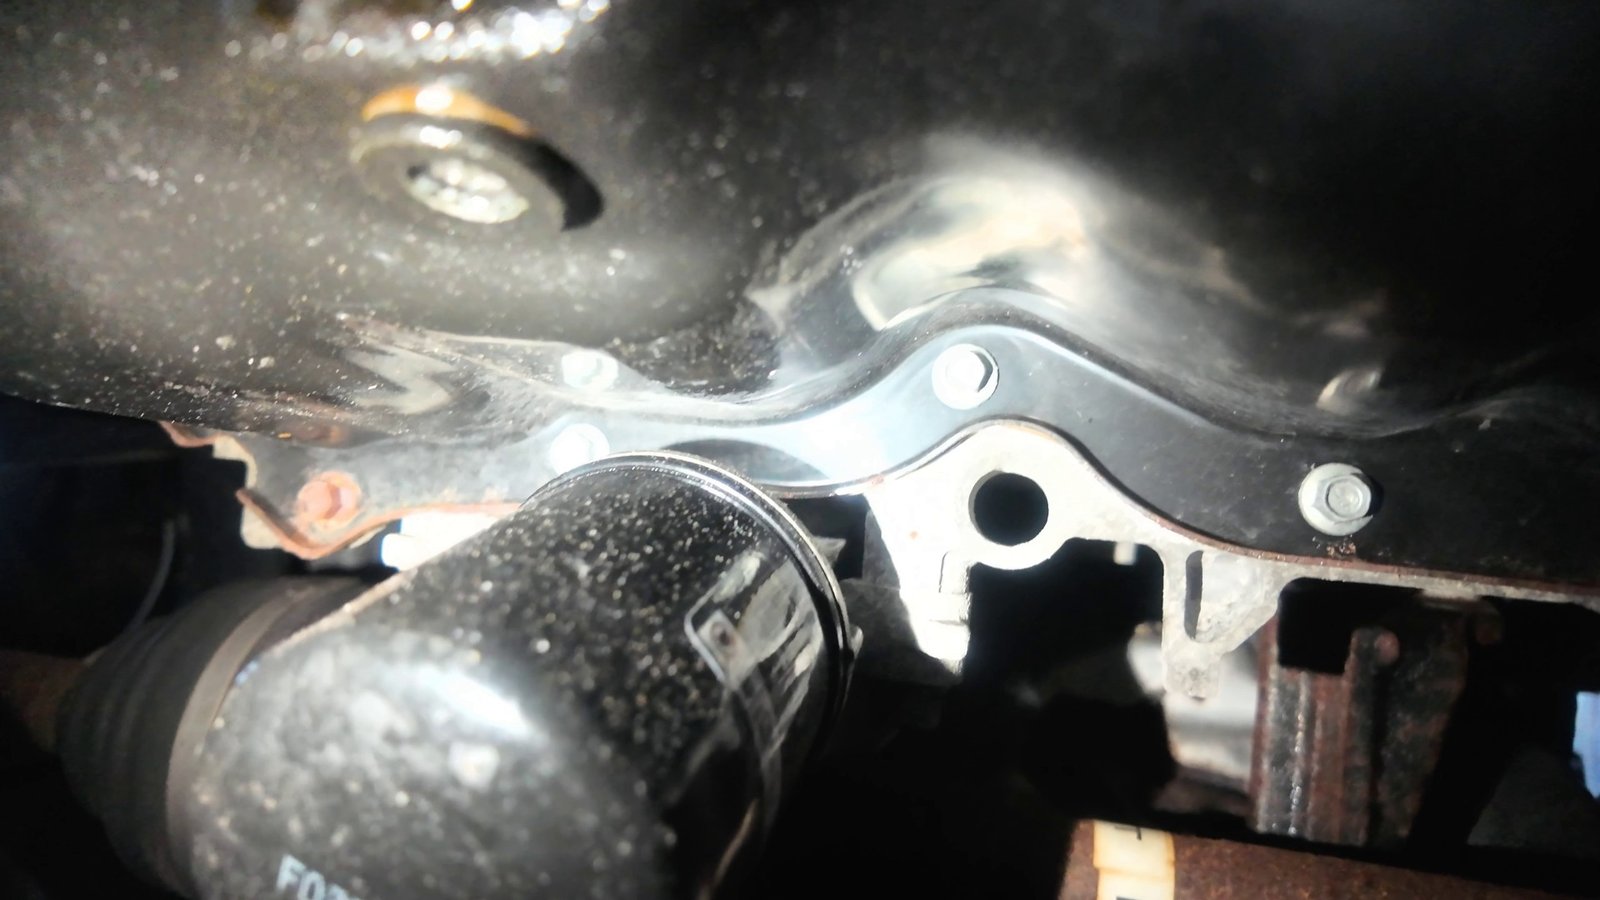
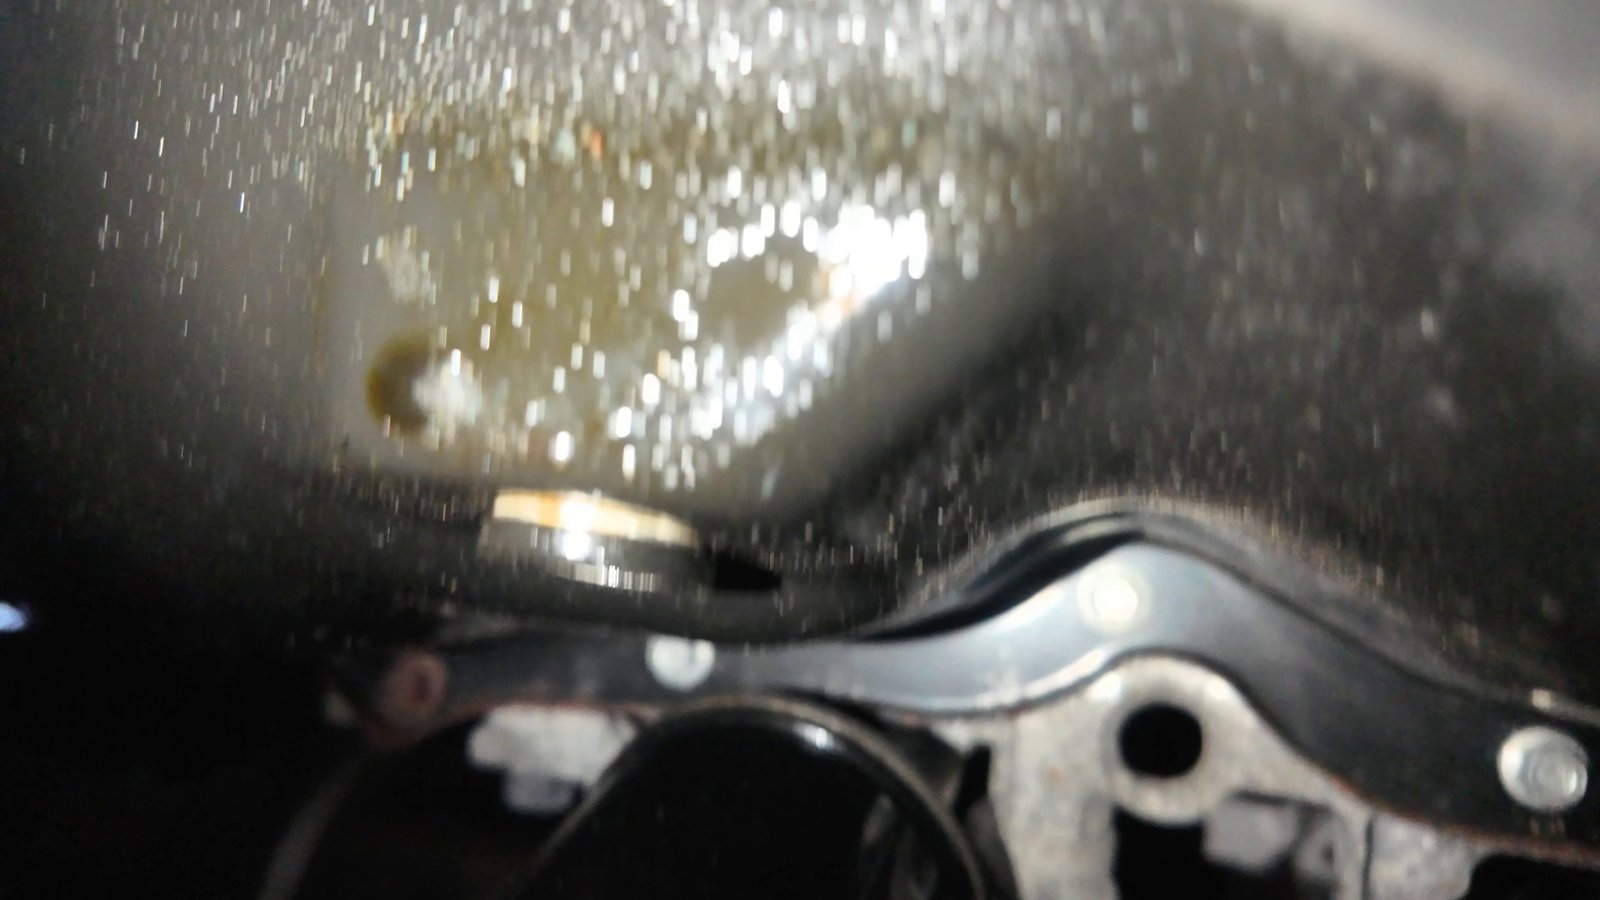
Before anything drains, look around with a flashlight. On my car there it was: oil around the drain plug and spread across the bottom of the pan. I had been chasing a slow leak and low oil between changes, and the old crush washer and bolt were not sealing anymore. Hopefully that means the problem is not higher up, like a valve cover or head gasket. I bought a brand new drain bolt and crush washer for this one.
5. Drain the oil
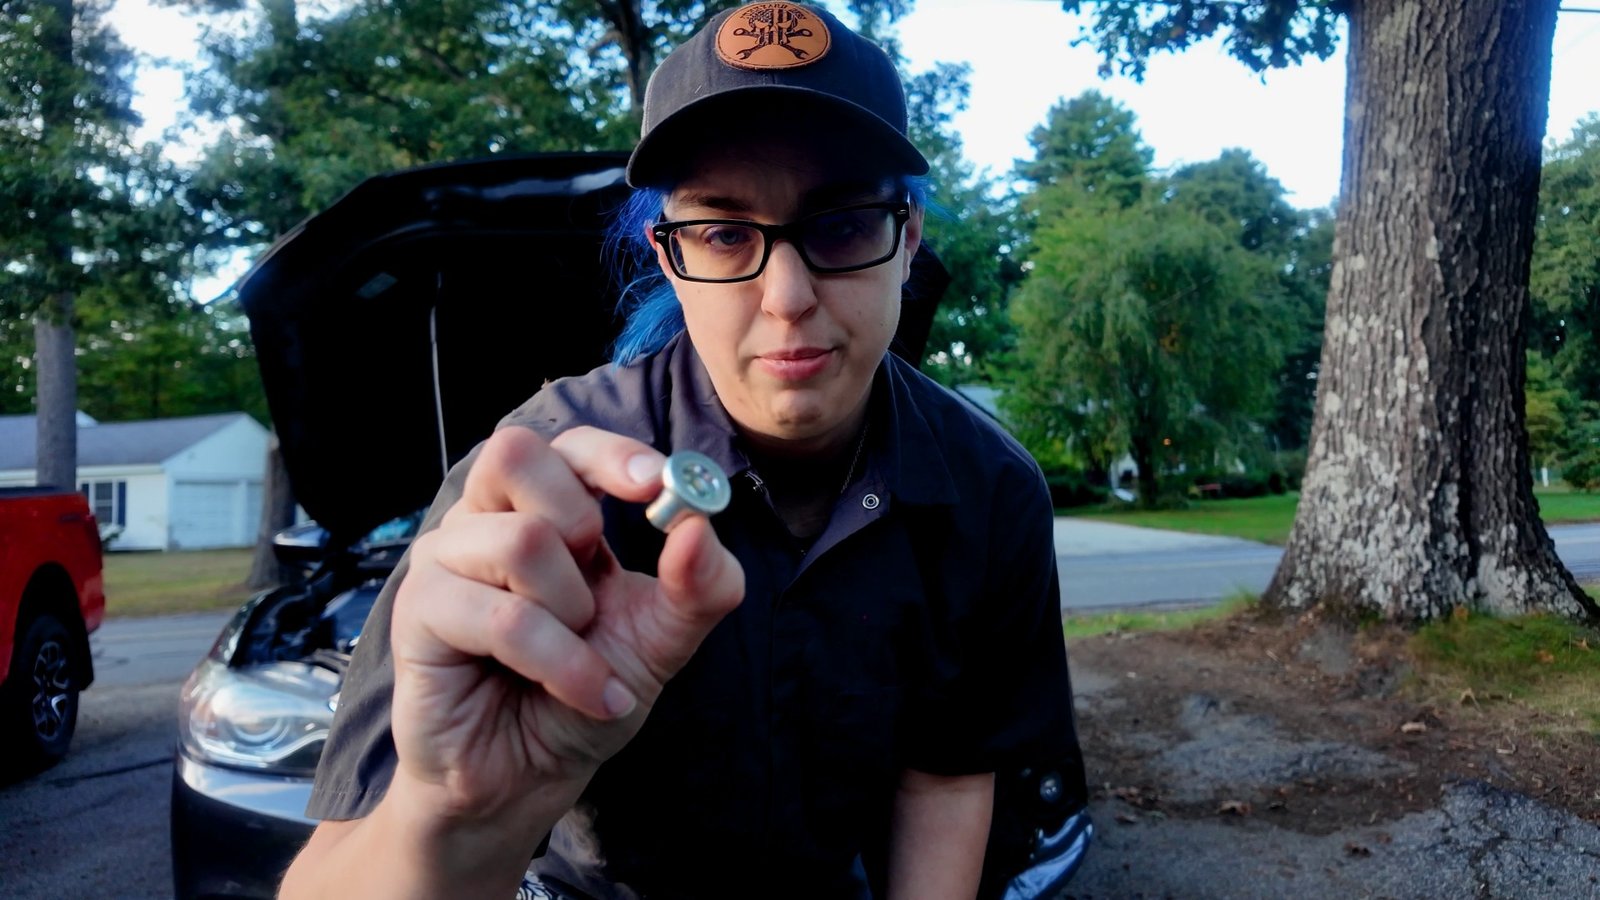
Glove up, the oil is hot. Get the pan under the drain plug, break it loose with the 8mm hex, finish by hand, and pull it out. Let it drain until it is just dripping, then give it another minute or two.
Be careful with that plug head. The 8mm hex recess can strip. Use a bit that fits all the way in with no slop and do not lean on it. My usual tool would not grip the old plug the way I wanted, so I switched to a different style to get it out. Have a backup.
Put a new crush washer on, and thread the plug in by hand first. You are far less likely to strip the threads that way. Snug it down with the tool: 23 to 30 ft-lbs if you have a torque wrench.
6. Change the filter
Keep the pan close, because the filter drips too. Loosen it with the cap wrench, spin it off, and let the housing drain. Make sure the old filter’s rubber gasket came off with it, or the new one will not seal.
Put a little oil on the new filter’s rubber gasket. Your oily glove works fine. Some people fill the new filter with oil first and some put it on empty. Do your own research. Hand-tight until it stops, then a little more with the cap wrench. Wipe everything clean, so the next time you are under there, any oil you see is new.
7. Fill it and check for leaks
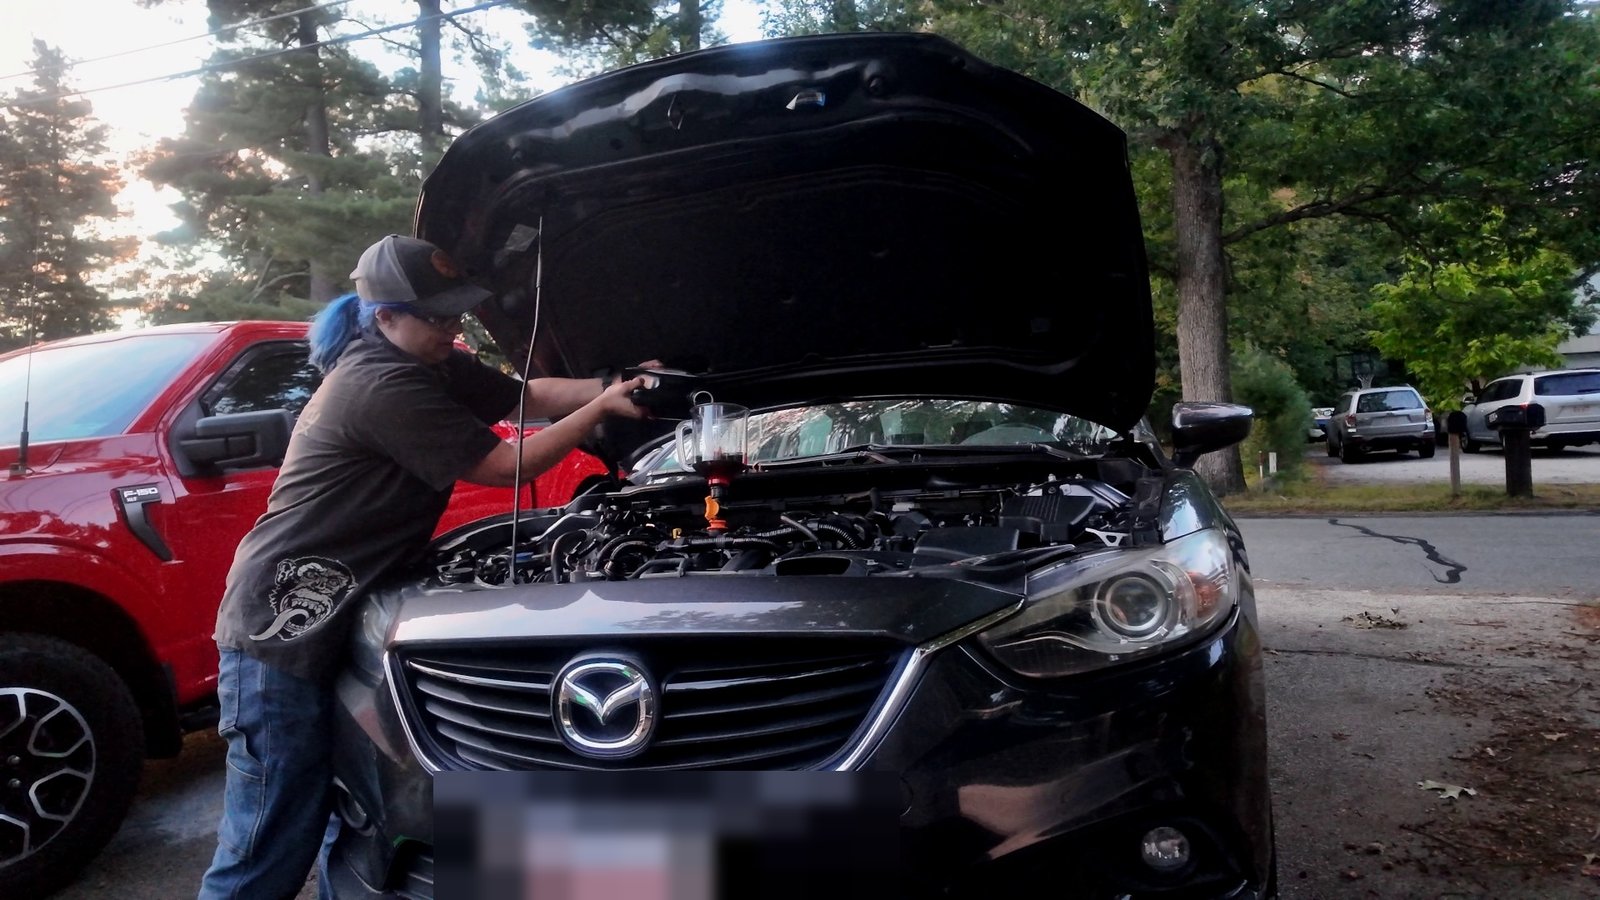
Leave the bottom cover off while you fill, so you can watch the drain plug and the filter. Pour in about half, then go look underneath. On mine, the first quart went in with nothing coming out.
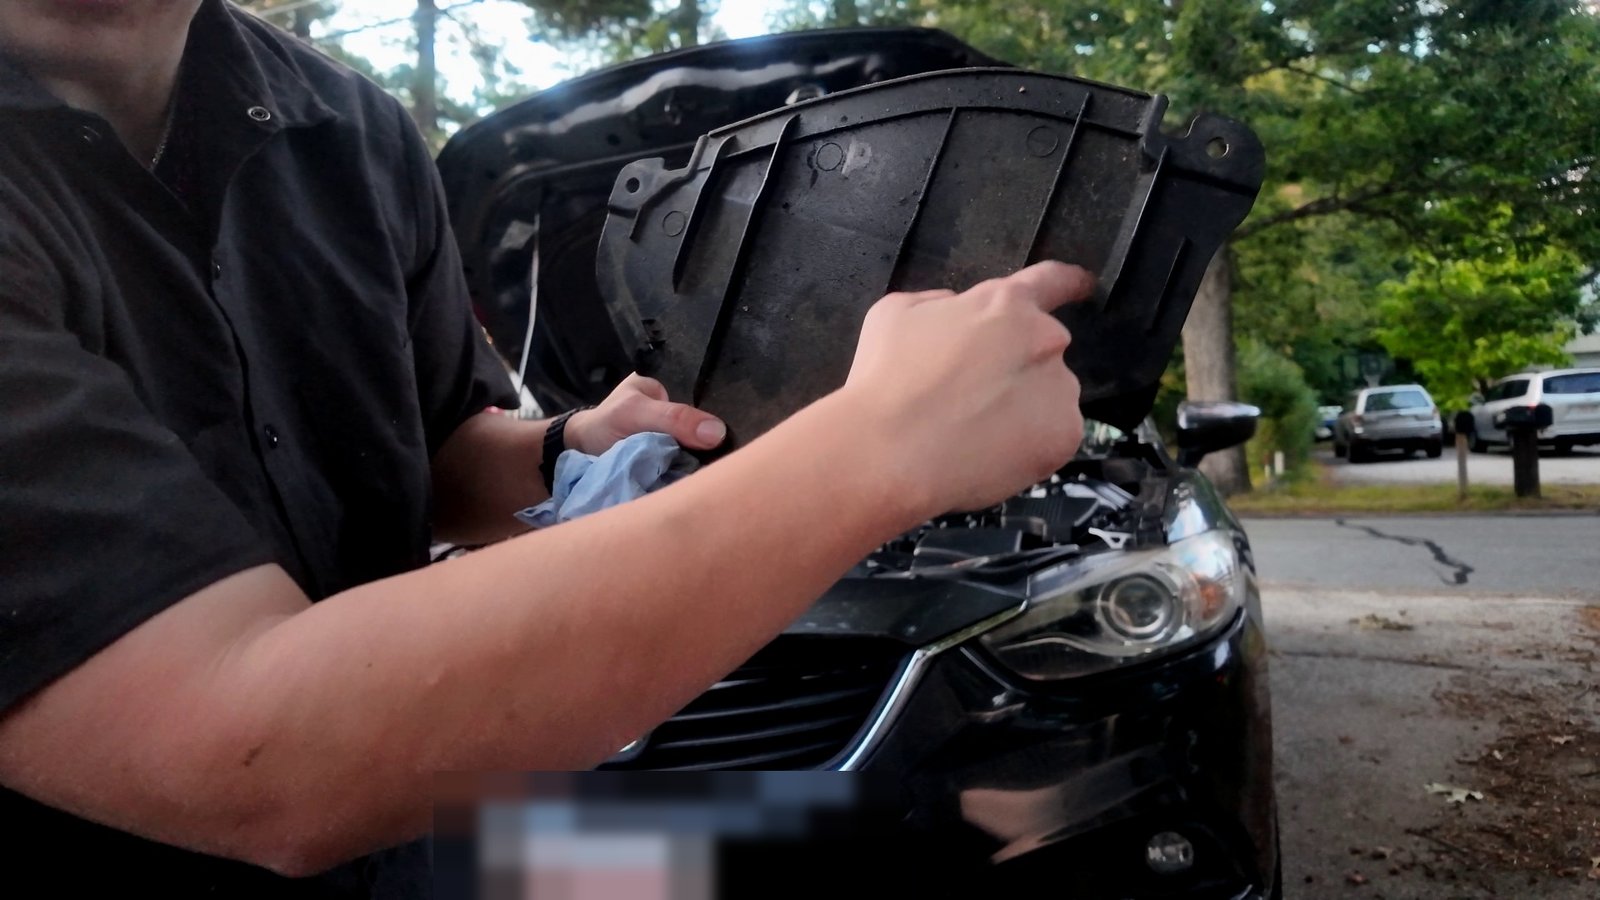
Clean the bottom cover before it goes back on. Mine had dirt on one side and a shiny patch where oil had been dripping onto it. A clean cover means any new shine is a real leak.
Keep filling toward 4.8 quarts, then check the dipstick. The level should sit between the two little holes on the stick. The car is at an angle on the ramps, so that reading is only rough. Get it close, start the car, and check that no oil light comes on. Then look underneath once more with it running.
8. Reset the oil reminder
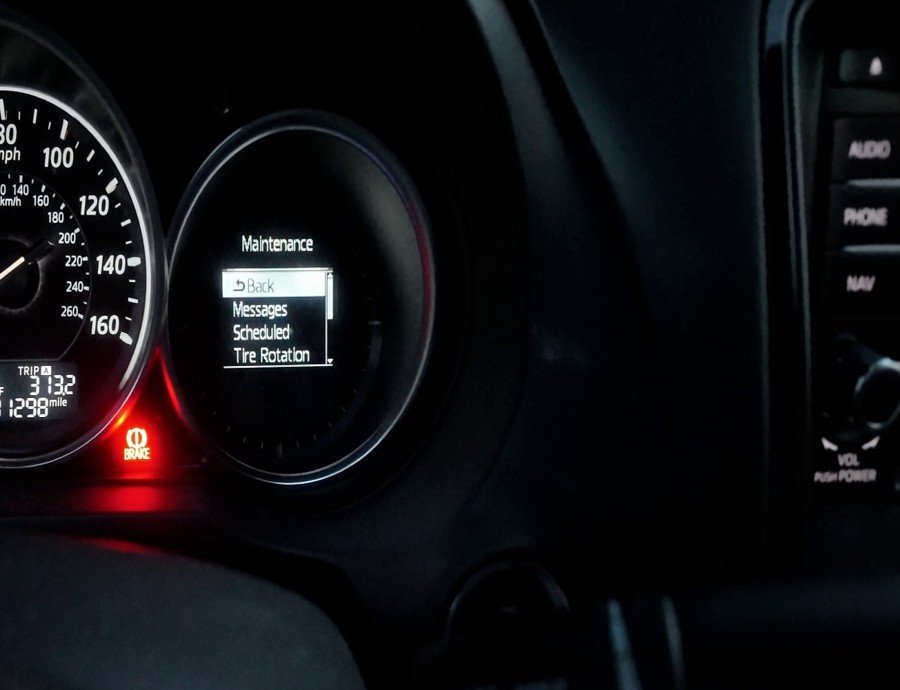
This is different from the Mazda 3. Go to Info, scroll down to Maintenance, then Scheduled. Set your distance, hit OK, and back out.
9. Recheck on level ground
Put the bottom cover back on and drive the car off the ramps. Check the dipstick again on level ground, about ten minutes after the engine has run so the oil has settled. Then drive it for a day or two, look where you park for any spots, and check the level one more time.
If you own both a Mazda 3 and a Mazda 6
Same filter. Same oil. Same drain plug spec. Same crush washer. One filter part number and one jug of 0W-20 covers both. The only thing that changes is how much goes in: 4.8 quarts here, 4.4 in a 2.0L Mazda 3.
Want to watch every step? The Mazda 3 oil change guide has the full-length video, and the process is identical.